
Adobe Premiere "Error Compiling Movie"
A very annoying ADOBE Premiere issue with a simple fix.
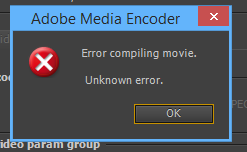
I recently faced a very frustrating problem ( After Installing Adobe Premiere CC, but I can't tell if it has any relation with the actual problem ); whenever I hit the render button this error window shows up ( Image below ), even when I hit "render effects in to out " button, it doesn't work.

Image courtesy Todd Kron, from sellaholics, from this interesting article, http://sellaholics.com/video/error-compiling-movie-unknown-error-ugh.html
My solution was pretty simple, I changed my Hard Drives.
A little preview of the story behind this solution !
I tried most of the solutions available over internet, nothing worked in my case. The most common problem has a relation with your disk space, I freed spaces in all my Hard Drives, and the problem persisted. One thing was for sure, my hard drives were old and dying, and I was procrastinating to change them; but when the problem occurred, I was in the middle of a project, with 90% completed, I couldn't risk changing my scratch files and all that nasty sub-folders that Premiere creates for each project ( I experienced some random errors with these files when trying to move them from one location to another with the old copy and past Technic that just corrupted my whole project, but I can't explain how and why ).
But when I faced this Premiere problem, I had nothing to lose because, well, I can't do much with project that can't render anyways, and I changed my old dying hard drives with brand new ones.
Before I did so, I had to make sure I'm backing up all my project files (I'm talking about the project files, not the actual Hard Drives archives and files, it's a no-brainer to make multiple copies of your work, no one is safe from a Hard Drive Failure ).
The best way to safely migrate your whole project is to go to :
File - Project Manager
When the Project Manager Window pops-up, choose the Sequence that you want, select Collect Files and Copy to New Location ; then choose your Destination Path, make sure that you destination disk has enough space, and hit OK.
By doing so, all your project files are gathered and organised in one folder, and you can move this folder to an external and secured location, which is a great thing. After this step, I just turned off my computer and changed my hardware. I placed a 128 SSD and 2*2TO HDD ( + my old 256 SSD ). I made the 128 SSD my Premiere Scratch Files drive, I placed my footage in one of my 2 TO ( I was thinking about making a Raid 1 configuration, but I feel like I don't really need it ), and the software files are on my 256 SSD.
That's it, after that my project was working fine and my computer is much much faster than before. Never procrastinate with your Hard Drives, this is the moral of the story.
I hope that you'll find some useful information in this blog post, and I hope that my English was readable.

Sony A7s and S-Log 2 Grading
A brief look at how to shoot and edit Sony’s Slog-2 8 bit footage.
We recently purchased the Sony A7s, and it quickly became our primary video camera over the Canon 5D mrk III. Since Mehdi is the video department head, he has more time doing few tests with it, but I didn't, at least before shooting a music video entirely with the Sony A7s.
The shooting process was quite challenging, changing Canon habits is not the easiest thing to do, especially when you are using the system for little more than 5 Years. Shooting with S-Log 2 and nailing its exposure is the trickiest part of the shooting process.


Okey, the shooting was fun anyways, what was really challenging and time consuming -more than usual- is the editing, color correcting/grading part. God knows how difficult to grade the S-Log 2 files are ! I had to move to Premiere CC for the amazing Lumetri panel - that serves well my Lightroom editing instinct - and the possibility to apply LUTs to your footage without the need to use an external software - Like Davinci Resolve, which I tried, but since I didn't have time to learn a new software, I couldn't risk using it for the entire project-.
It was painful !
I had to change my workflow at least three times; at first the LUTs seemed to never work the way they were supposed to, the results after applying the LUTs were nothing but horrible. I perfectly understand that the exposure and lighting conditions are the main reasons why this is happening, but I didn't think that it will be that different and that bad. I downloaded some A7s RAW footage from our all time buddy Internet ( here you go http://bit.ly/1XqqNlW ), and did some testing and found that the LUTs work incredibly well, giving me a pretty good starting point ( Especially since my video grading skills are below average ).
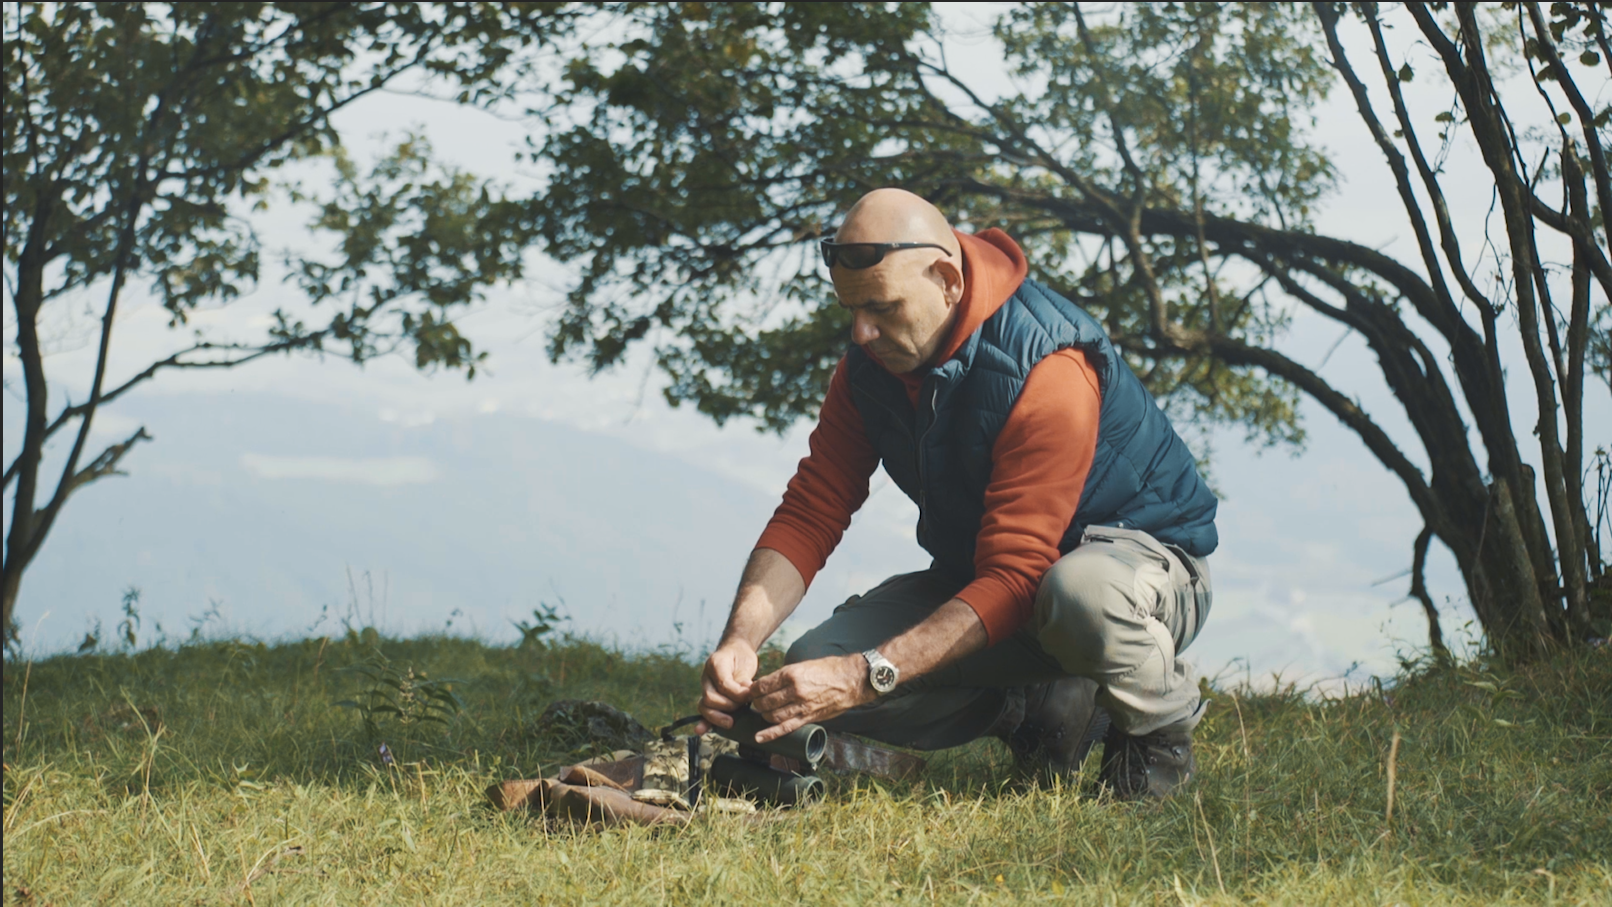
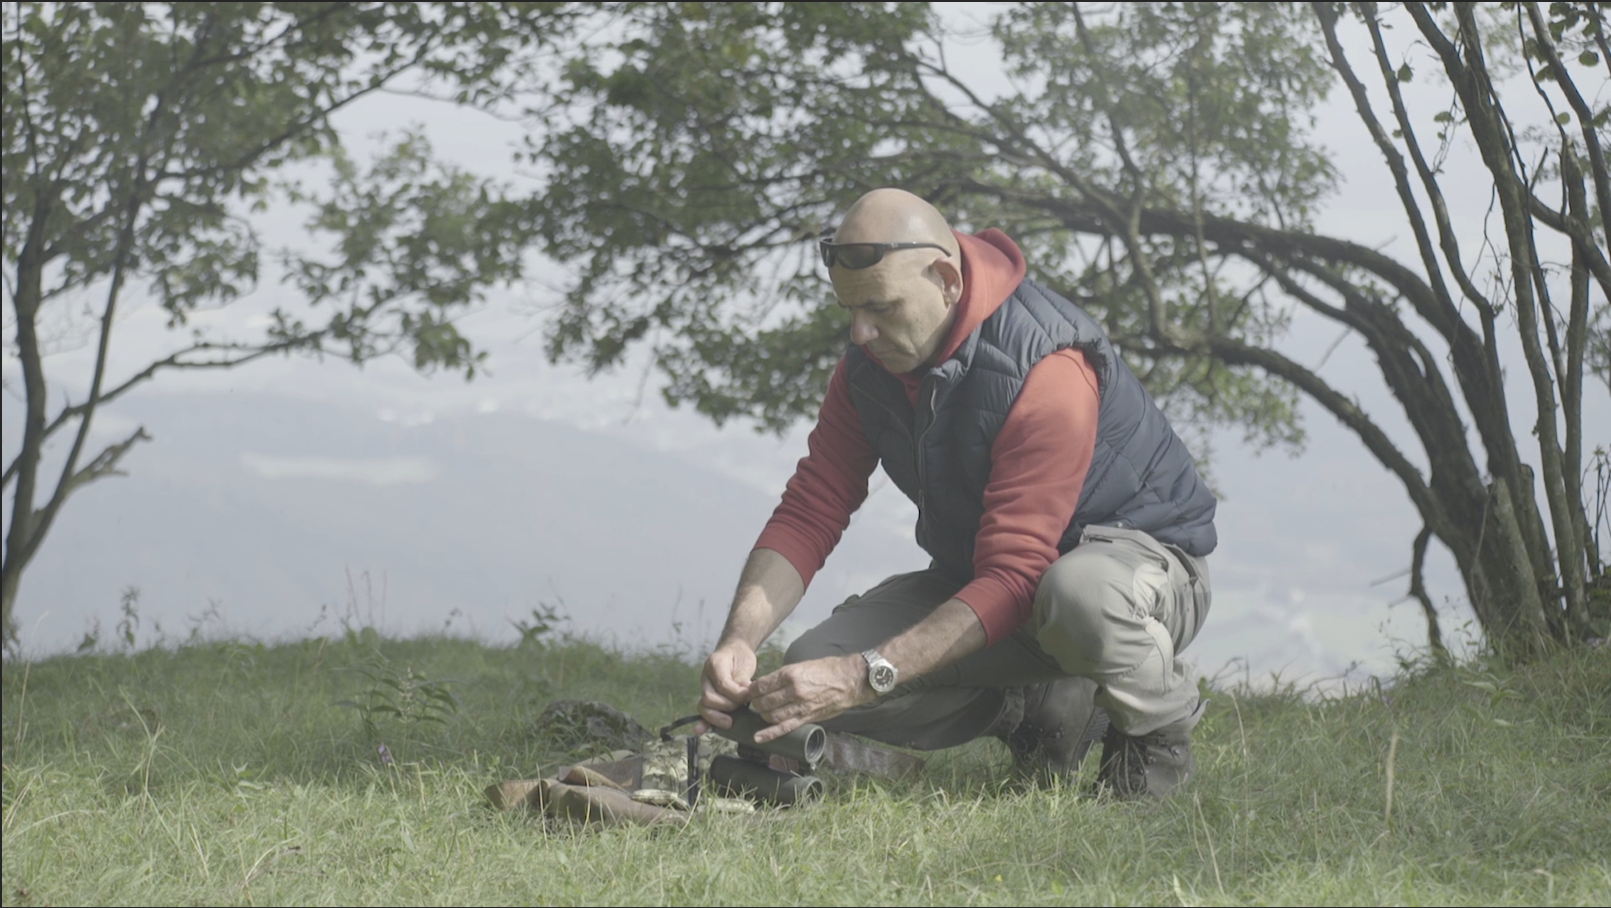
I understood two things, one is that I screw up at exposing the footage, two, and I understood this long time ago, that the lighting in Morocco, especially in the summer period, is quite challenging, since my reference point for imagery is an occidental one, my main inspiration for colors and tones is coming from completely different areas around the globe, and that just make things even harder. When I see a picture taken in Morocco I immediately spot it thanks to the characteristic haziness that make everything look washed out and dry; that's not a problem in itself, that doesn't make Morocco less beautiful than other places, it's just different (exotic for others), and I tend to forget that little detail.
Back to the grading !
So, in order to have some decent results, I had to add a Fast Color Corrector and dial down the exposure before applying the LUT, I found that it gives way better results rather than adjusting the exposure after applying the LUT which doesn't really make sens in my mind.
The challenge here was to make a decent color correction and THEN find a general feel and grading that will go in pair with the music video itself. Welcome, hours and hours of experimenting and computer crashing due to the amount of layers ( effects in premiere ) used ( even though I have a pretty decent machine ). My workflow was not organised at all, later when I finished the whole thing, I managed to achieve the same results with less and less effects, because I knew exactly what I was going for.

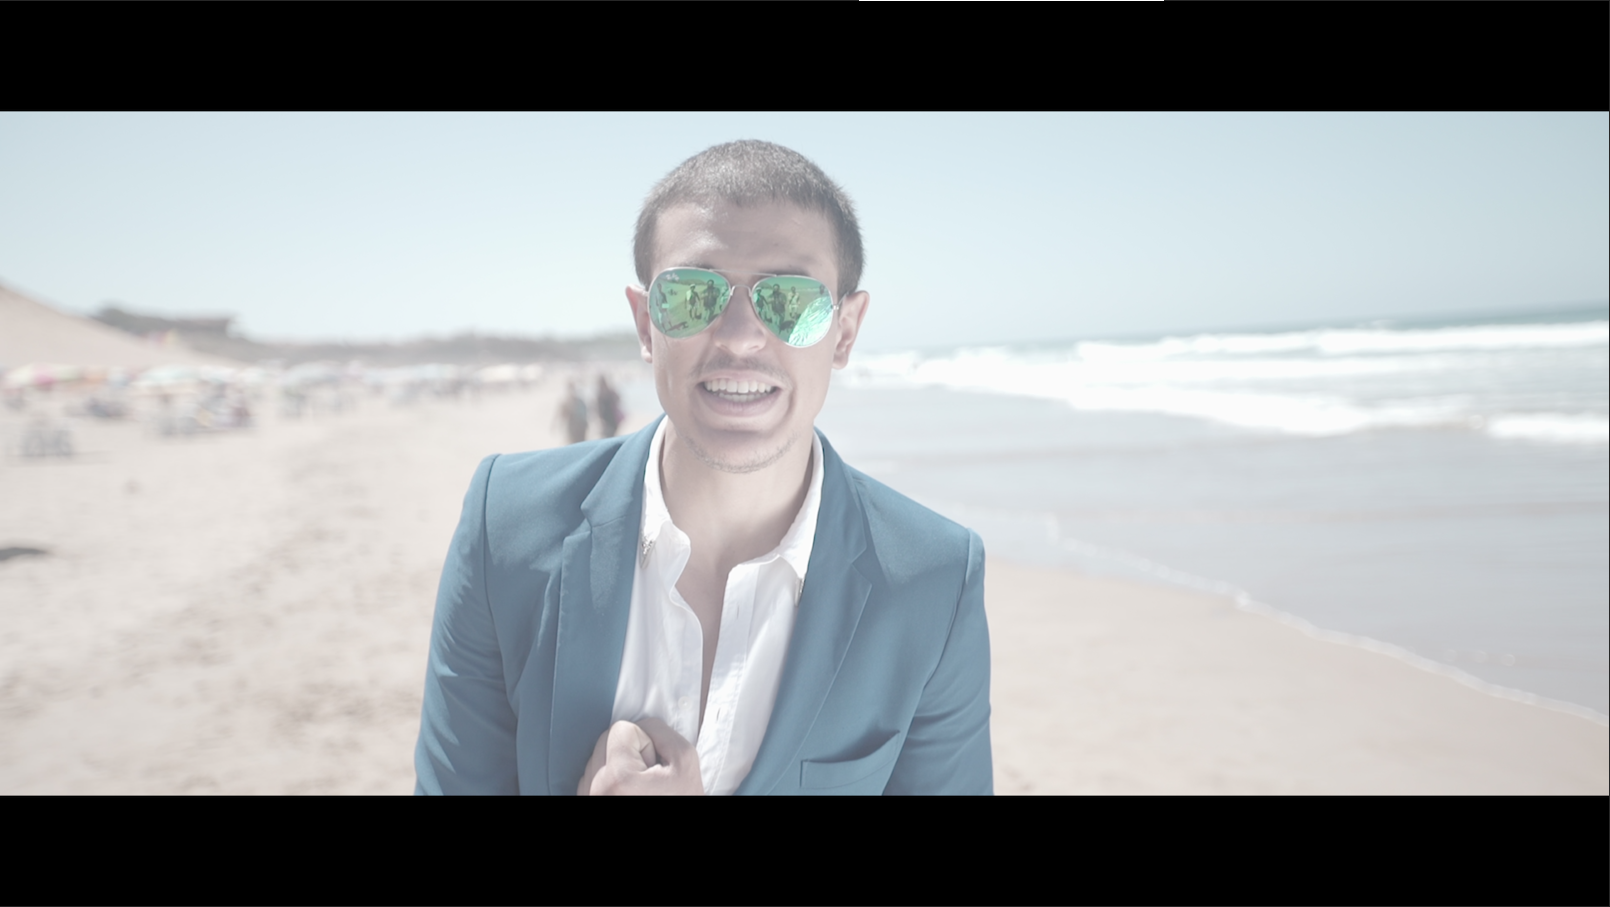
I'm not satisfied with the final result, but I'm grateful for the journey that took me to it.
Here are few things to keep in mind, as a moral of the story :
- Exposing your S-log 2 files is not easy, experiment and read : http://bit.ly/1560P0H
- S-Log 2 is not what you want to use in your everyday shooting, unless you get used to its workflow.
- Forget what I just said, S-Log 2 is AMAZING, stop complaining, wash away your laziness and begin experimenting, it's worth it.
- You can watch and read all Youtube's videos and Internet articles, experimenting is the key to understanding.
- Your S-Log 2 first grading is going to suck ( so does mine ), but I'm pretty sure the second one will be a bit better ( so doesn't mine ).
- Never work without your scopes and graphs ( Vectorscope, Parade, Histogram, Waveform ..) I always say that in my Photography workshops, your histogram is your best friend, same goes for video work ( I did the mistake, and consequences were bad )
- NEVER USE Brightness and Contrast in Adobe Premiere, it's a destructive effect.
- Lumetri, Fast Color Corrector, RGB curves are great tools, you can achieve great results with thus three effects only.
- I'm not a Colorist, I'm sharing my learning process with S-Log 2 files, don't take what's written in this article for granted.
I hope that you'll find some useful information in this blog post, and I hope my English was readable.